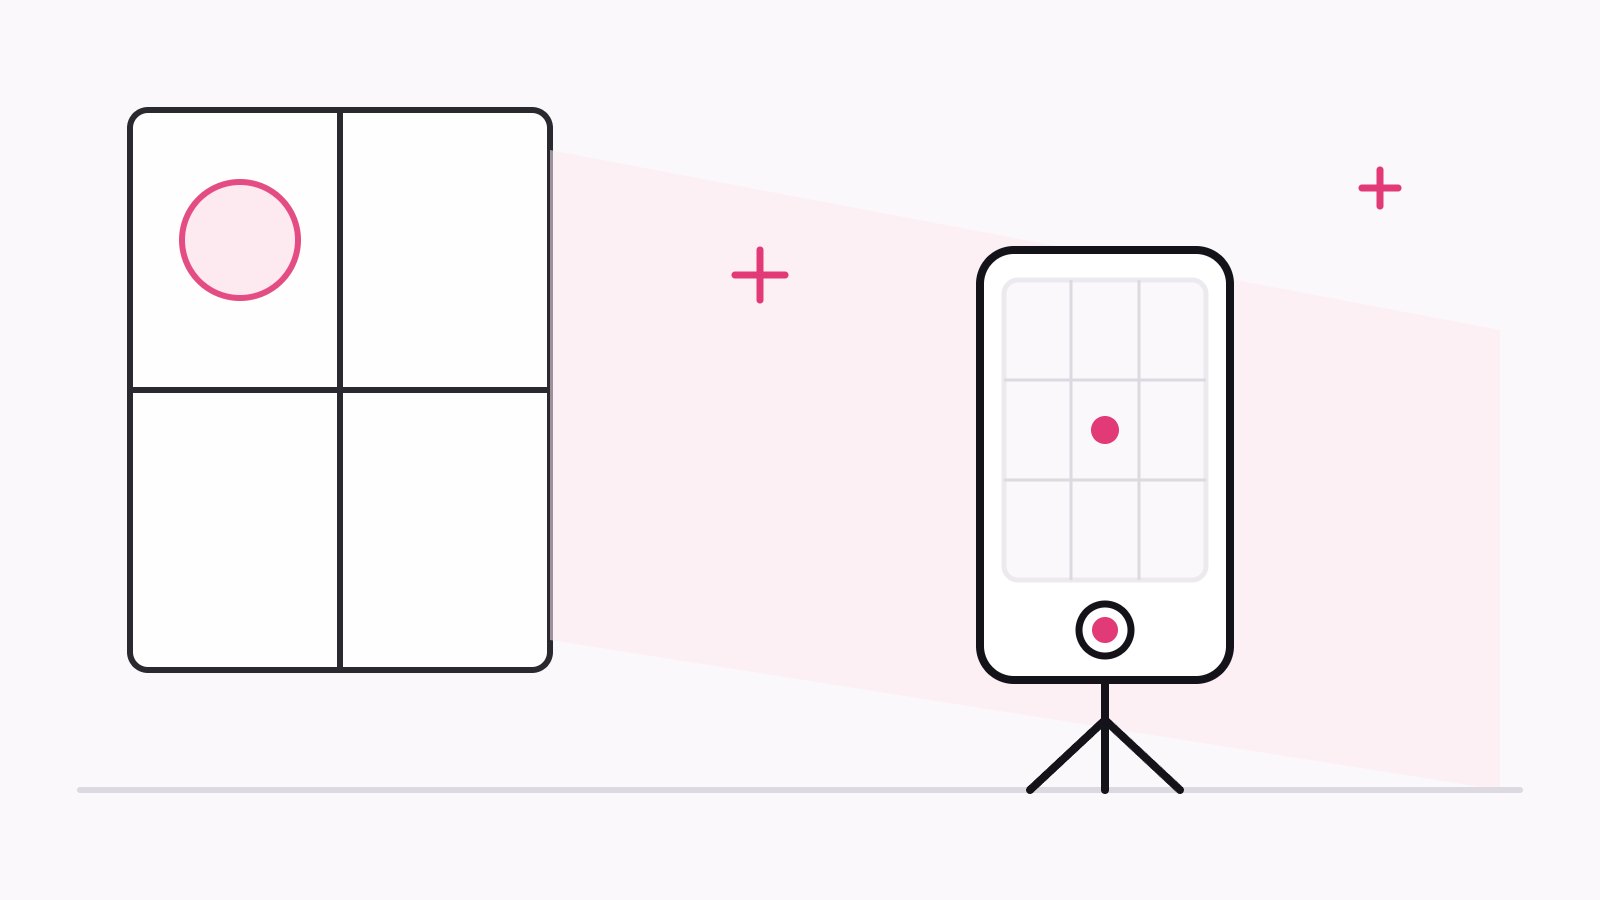
You do not need a professional camera to take feet pics that sell. A recent phone, good light, and a few habits will get you most of the way there. This guide covers what actually makes the difference.
Start with light, not gear
Lighting matters more than the phone you own. Soft, even light makes skin look smooth and keeps colours accurate, while harsh light creates hard shadows and shiny patches.
Shoot near a window during the day, with the light coming from the side or front.
Avoid direct midday sun. A thin curtain turns harsh sunlight into soft light.
Turn off the ceiling light so you are not mixing warm and cool colours.
Clean up the frame
Look at everything the camera can see, not just your feet. A plain sheet, a rug, or a clean floor makes the photo look deliberate. Clutter, laundry, and cables make it look rushed.
Prep before you shoot
Small details show up clearly in close-ups. Moisturise the day before rather than right before the shoot, so skin looks healthy instead of greasy, and tidy your nails.
Five angles that work
Top-down. Stand or sit and shoot straight down for a clean, simple view.
Side profile. Shows the arch. Keep the camera level with your foot.
Soles. Kneel or lie down and shoot from behind with your toes relaxed.
Pointed toes. Stretching the foot makes lines look longer.
In context. Sandals, socks, sand, or a blanket add variety to a set.
Phone camera settings worth changing
A few settings make a visible difference:
Wipe the lens. Fingerprints are the most common cause of hazy photos.
Turn on the grid to keep horizons straight and framing balanced.
Tap to focus, then lower the exposure slightly so highlights are not blown out.
Use the main rear camera. It is sharper than the selfie or ultra-wide lens.
Portrait mode: use with care
Background blur can look great, but it often smudges the edges of toes. Check the result at full size before you use it.
Edit lightly
Crop, straighten, and make small brightness and warmth adjustments. Skip heavy filters and skin smoothing. Buyers want photos that look real.
If the edit is the first thing you notice, it is too much.
Do a privacy check before you upload
Before a photo leaves your phone, check the background for anything identifying and remove location data. Our guide to staying anonymous walks through every step.
Quick pre-upload checklist
Soft, even light
Clean, plain background
Lens wiped, focus sharp
Light edit only
No identifying details or location data
Good photos are a habit, not a talent. Once this routine feels natural, the next step is deciding what to charge for your photos.